Skip to content
PETRA
Catalog
Catalog
Collections
Inspiration
Gallery
Blog
Inspiration & Projects
Resources
FAQ
Testimonials
Tutorials
Contact
Company
About Us
CEO Presentation
ES
Quote
PETRA
Catalog
Catalog
Collections
Inspiration
Gallery
Blog
Inspiration & Projects
Resources
FAQ
Testimonials
Tutorials
Contact
Company
About Us
CEO Presentation
Español
Get a Quote
Back al Blog
Tutorials
10 min read
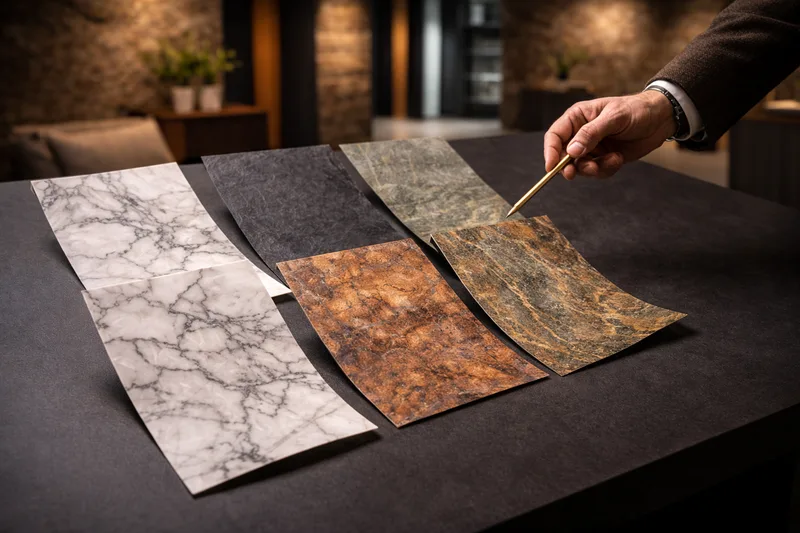
StoneFlex: Step by step installation
November 20, 2025
|
Petra
Ready to transform your space?
Contact us for personalized guidance or visit our showroom.
Request a Quote
WhatsApp HN
WhatsApp SV
Related articles
Trends
Cladding trends for 2026
January 15, 2026
Guides
How to choose the perfect cladding
December 5, 2025
WhatsApp
🇭🇳
Honduras
🇸🇻
El Salvador